Maps and included props#
Method 1 (Recommended)#
Summary of Method 1#
Download BSPSource, Plumber, and Blender Source Tools. Install Plumber and Blender Source Tools as Add-ons into Blender (This step is only necessary on first time use).
Locate the map you wish to bring into Blender by going to
[game_directory] / tf / maps.Convert the
.BSPfile into a.VMFfile using BSPSource.Import the
.VMFfile from File > Import > Plumber > Valve Map Format (.vmf) in Blender.Disable all lights except
light_environment, and set Color Profile from Filmic to Standard.
Full Guide of Method 1#
Note
Always get the most recent version of a program or Add-on linked here.
Convert a .BSP to .VMF#
Important
You need to install Java to run BSPSource.
Download BSPSource and extract all files to a folder.
Open
bspsrc.jarfrom this folder.There’s many options in the program. For now, just click the button for Add. From there, go to
[game_directory] / tf / mapsand choose the specific map file you want to convert.Go to the Other tab in BSPSource, and enable the checkbox labelled Extract Embedded Files.
Once done, just click the Decompile button in the bottom right. There’s no need to edit the other settings, though you’re free to play around if you know what you’re doing.
A file browser will show up for where to put the
.VMFfile. You can choose any location, but it’s best if it’s a place you can easily come back to.Click on Decompile.
.VMF file. We’ll use this later. If such a folder doesn’t exist, then don’t worry about it.Important
During the time that BSPSource is Decompiling the map, it will show logs of what it’s doing. There is an Errors & Warnings box visible. If the process worked, then this box should be mostly empty. If [Warning] is shown in this, then it should be fine. If an [Error] is shown in this, however, then it may have failed. You’ll have to come back to this step if the map doesn’t work later.
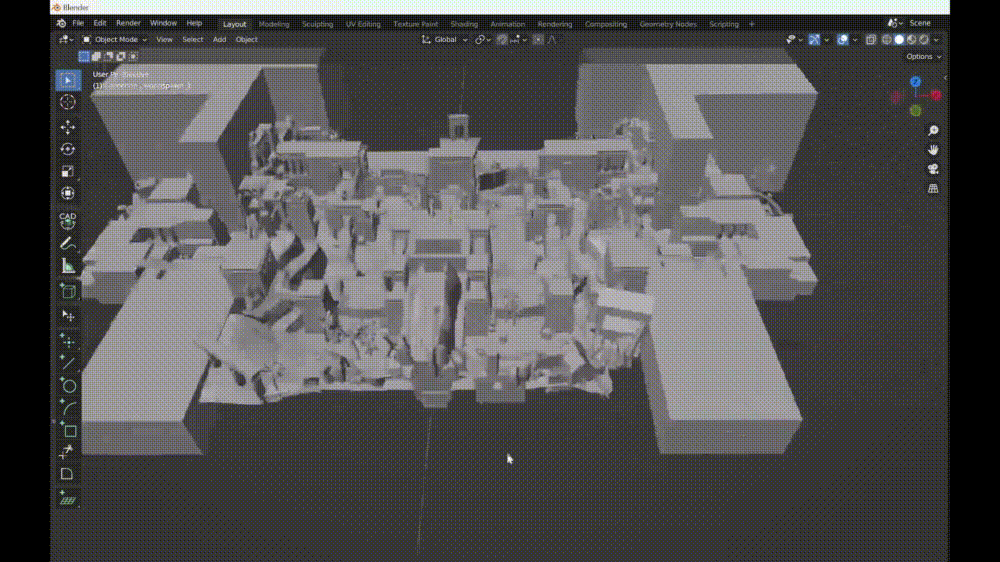
Bringing The Map In#
.VMF file which you Decompiled using BSPSource earlier.Make sure that in the Import settings, the game is set to Team Fortress 2.
Set the Scale to be set to 0.1, and the Light Brightness set to 10. This is so the map is compatible with the Hisanimations Characters port and TF2 Collections Port.
In the folder space underneath the Game, type the name of the folder with the same name as the
.VMF. So if for example, your map file is calledpl_pier_d.vmfthen there should also be a folder calledpl_pier_d. Writepl_pier_din that space. If you don’t have such a folder, you can skip this step.Then click the
.VMFfile, and click Import. That’s it, you should have everything.
.BSP into .VMF with BSPSource, Bring .VMF into Blender.Method 2 (Alternate)#
Summary of Method 2#
Download SourceIO and install it as an Add-on into Blender (This step is only necessary for first time use).
Go to File > Import > Source Engine Assets > Source Map (.bsp) in Blender.
Locate the map you wish to bring into Blender under
[game_directory] / tf / maps.Select everything by pressing A, then Shift Click an
Empty.Press N under the 3D Viewport to open the sidebar, go to SourceIO, and click Load Entity.
Disable all lights except
light_environment, and set Color Profile from Filmic to Standard.
Full Guide of Method 2#
SourceIO will be used for Full Guide of Method 2. The steps to install these can be seen at the Installing Programs section.
Bringing the Map in#
Important
Carefully follow these instructions. If you make a mistake, you will have to create a new, blank, project, as this addon directly reads off the .BSP in real time and doesn’t allow that file to be changed or edited. There’s also a lot of cleanup work to be done so, it’s recommended to have a completely empty Scene for this process.
Go to File > ⤓ Import > Source Engine Assets > Source map (.bsp) (Make sure SourceIO is installed).
Select your map of choice. The map MUST be in your TF2 game directory. It will be in
[game_directory] / tf / maps. You can use the name filter to narrow down the results.
Press A to select all objects within the viewport. Then Shift Click on an
Empty.An
Emptyis a placeholder. You’ll notice a lot of these in places where Props are supposed to be.Everything should be selected, with an
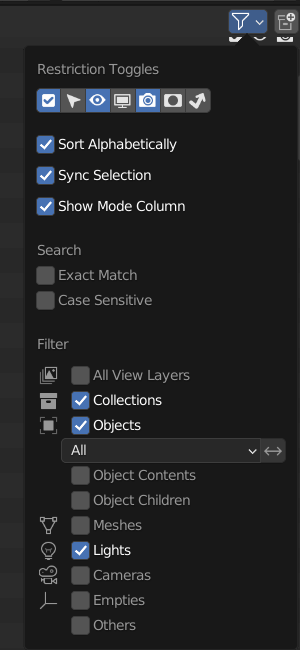
Emptybeing highlighted as Orange.Hovering over the 3D Viewport, press N to open the side panel. There will be a SourceIO tab. Click on that to open it.
Click on Load Entity.
It might take some time so please be patient. If done right, all props should show up without any error messages.
See also
For a full list of Eevee’s limitations, you can consult this page from Blender’s official manual.
Finishing Touches (Both Methods)#
Use Material Preview mode to confirm that all materials are actually fully functional before you do anything else. All textures should be visible and no part of the map should be white.
Use Eevee if you want a true TF2 look. Cycles will get you very different results.
There’s unfortunately a limit of Eevee which there’s no way around. It can only have 128 active lights at once, while a lot of maps in TF2 end up having significantly more than that. Unfortunately the only way around this is to use Cycles, which doesn’t have a light limit, but another alternative is to maintain the majority of the look by turning off every light except the one which starts with the name
light_environment. This is the ‘Sun’ light and is responsible for nearly all outdoor lighting and shadows present on the map.If you want more accurate TF2 colors, go to Color Management, and set the Color Profile from Filmic to Standard.
To apply the Skybox, check the Applying Skybox section.
Note
pl_badwater, some universally used props will look a bit off, such as the rocks used in the starting area for the payload cart. This is because these props have multiple different skins used by different maps. A script is being developed to make it easy to change skins, but if you currently want to do it manually, then go to the Materials section of this object and make it so all the assigned faces are of a different material slot instead. If you know how Materials and Assigning works, this shouldn’t be too difficult for you to do.Applying Skybox#